Remote Installations
Adding a new link
To add a new link, open the Add remote installation dialog.
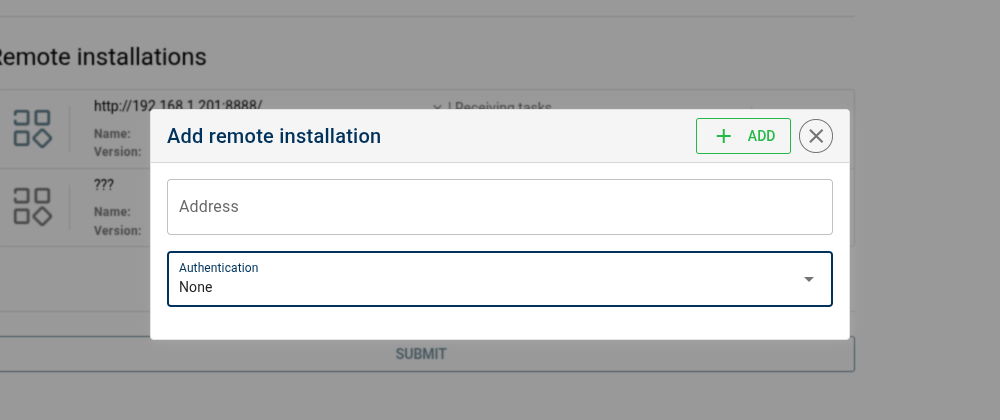
Insert the Hostname or IP as well as the port of the remote installation that you wish to link to.

Select the authentication type and add credentials if required by the remote installation.
Unmanic does not provide built-in authentication. If you need auth, place Unmanic behind a reverse proxy (for example Nginx) and configure authentication there. See Basic Authentication with Nginx.
If your remote installation is behind a proxy adding a TLS SSL layer, be sure to add https:// before the hostname or IP.
Once you add a new link, it will be displayed immediately on both installations.
Connection status

When a remote installation is available, the Unmanic icon will display in colour. ![]()

When the remote installation is not available, the Unmanic icon will display in greyscale. ![]()
If both installations show the other remote installation icon in colour, then the link will be synchronised bi-directionally. That is to say, modifying the configuration either of the installations will sync that configuration over to the other.
If only one installation shows the other remote installation icon in colour, then the link is synchronised one way. This means that settings will be pushed out from only the installation that is able to see the other.
Unmanic does not require that links be configured to sync bi-directionally. Because of this, a link may traverse more complicated network configurations such as a NAT.
Configure remote installation link
Click the configure button ![]() to open
the link's configuration.
to open
the link's configuration.
For the configuration options, see Remote installation configuration.