Installation on macOS
Requirements
This requires a recent macOS, Python 3.7-3.8, FFmpeg, and pip.
macOS Monterey 12.3 was used when creating this guide. Slight changes may need to be made for older systems.
1) Checking requirements
First, open a Terminal window. Either click on the Spotlight search in the upper right of the screen and type Terminal, or run it from the Applications/Utilities folder.
Once the terminal is open, type:
python3 --version
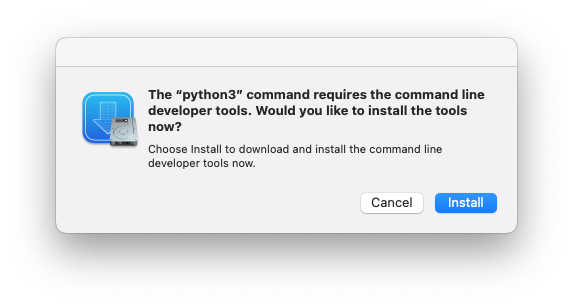
If this is the first time running Python, it may prompt you to download the command line developer tools. Click Install to continue.
If you already have Python installed, the version needs to be between 3.7 and 3.8 to work best with Unmanic.
2) Installing pip
pip is not included in macOS, so you must install it.
Open the Terminal app and enter:
cd ~/Desktop/;curl https://bootstrap.pypa.io/get-pip.py -o get-pip.py
You may see a prompt asking if Terminal can access your Desktop directory. Click Yes if prompted.
This changes directories to your Desktop folder and downloads the get-pip.py script.
Next, run the script from the Terminal:
python3 get-pip.py
After it downloads and installs, verify pip is installed by typing:
pip3 --version
3) Installing FFmpeg
Download FFmpeg and FFprobe from https://evermeet.cx/ffmpeg/.
Go to your Downloads folder and extract both FFmpeg and FFprobe. Click and drag to highlight both FFmpeg and FFprobe, then right click on them and click Copy from the menu.
Next, go to the Go menu and select Go to Folder. Enter:
/usr/local/bin
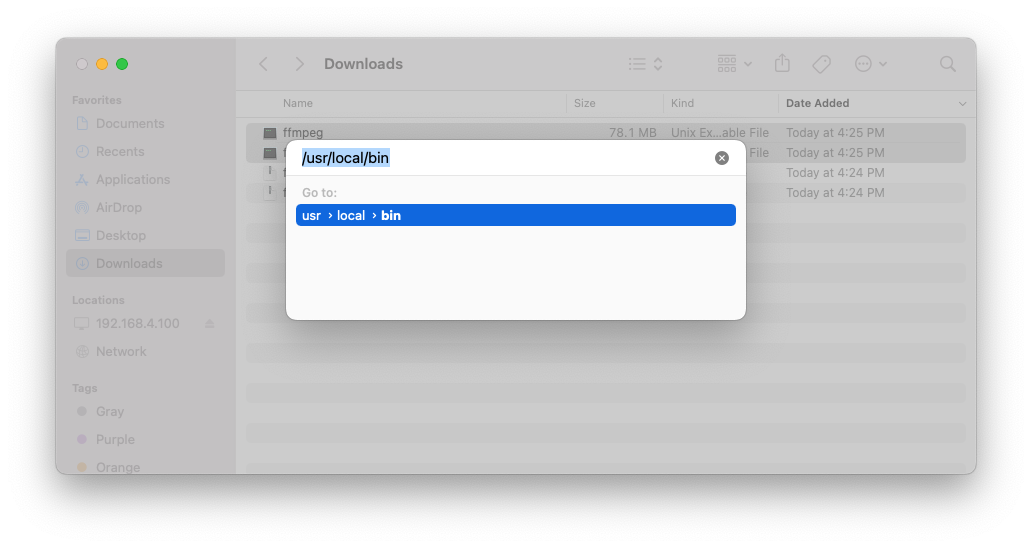
When the directory opens, right click and select Paste 2 items. You will be prompted for your password. Enter it and press enter.
Next, set these files to be executable. From the terminal, enter the following:
sudo chmod 755 /usr/local/bin/ffmpeg
sudo chmod 755 /usr/local/bin/ffprobe
Next, deal with the macOS security settings for unsigned packages. From the terminal, type:
ffmpeg
You will see a dialog similar to 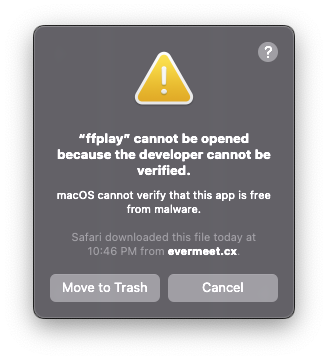 . Click Cancel in the dialog box.
Open the Apple Menu -> System Preferences, open Security & Privacy, and click the Allow Anyway button.
From the terminal, type:
ffmpeg
When the dialog opens, click the Open button.
Next, repeat the same process for FFprobe. From the terminal, type:
ffprobe
Click Cancel in the dialog box.
Open the Apple Menu -> System Preferences, open Security & Privacy, and click the Allow Anyway button.
From the terminal, type:
ffprobe
When the dialog opens, click the Open button.
4) Installing Unmanic
From the Terminal enter:
pip3 install unmanic
This installs Unmanic and dependencies.
5) Creating a shell script to start Unmanic
For the next step, you will need root access. At the terminal, enter the following command:
sudo su -
This will prompt you for your account password. Enter your password and press enter.
Next, in the terminal, enter the following command:
echo "python3 -m unmanic" >/usr/local/bin/start_unmanic.sh
Lastly, make the shell script executable by entering the following command in the terminal:
chmod 755 /usr/local/bin/start_unmanic.sh
In the Terminal, type exit to leave root access:
exit
6) Start Unmanic
From the Terminal, type:
/usr/local/bin/start_unmanic.sh
This will start Unmanic. This terminal must be left open or Unmanic will stop.
7) Mount your media
Mount the remote drive that contains your media from the Go menu -> Connect to Server.
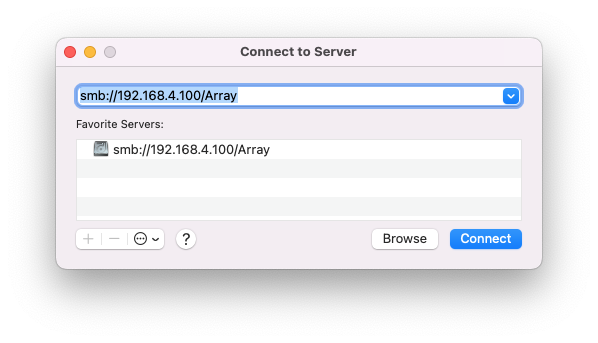
Enter the IP address and share name and click Connect.
When you are configuring Unmanic to access your library, it will now be located under the /Volumes directory.
8) Configure library path
Open a web browser of your choice and go to the following URL:
localhost:8888
Click the 3 horizontal lines in the upper left to expand the menu. Next go to Settings.
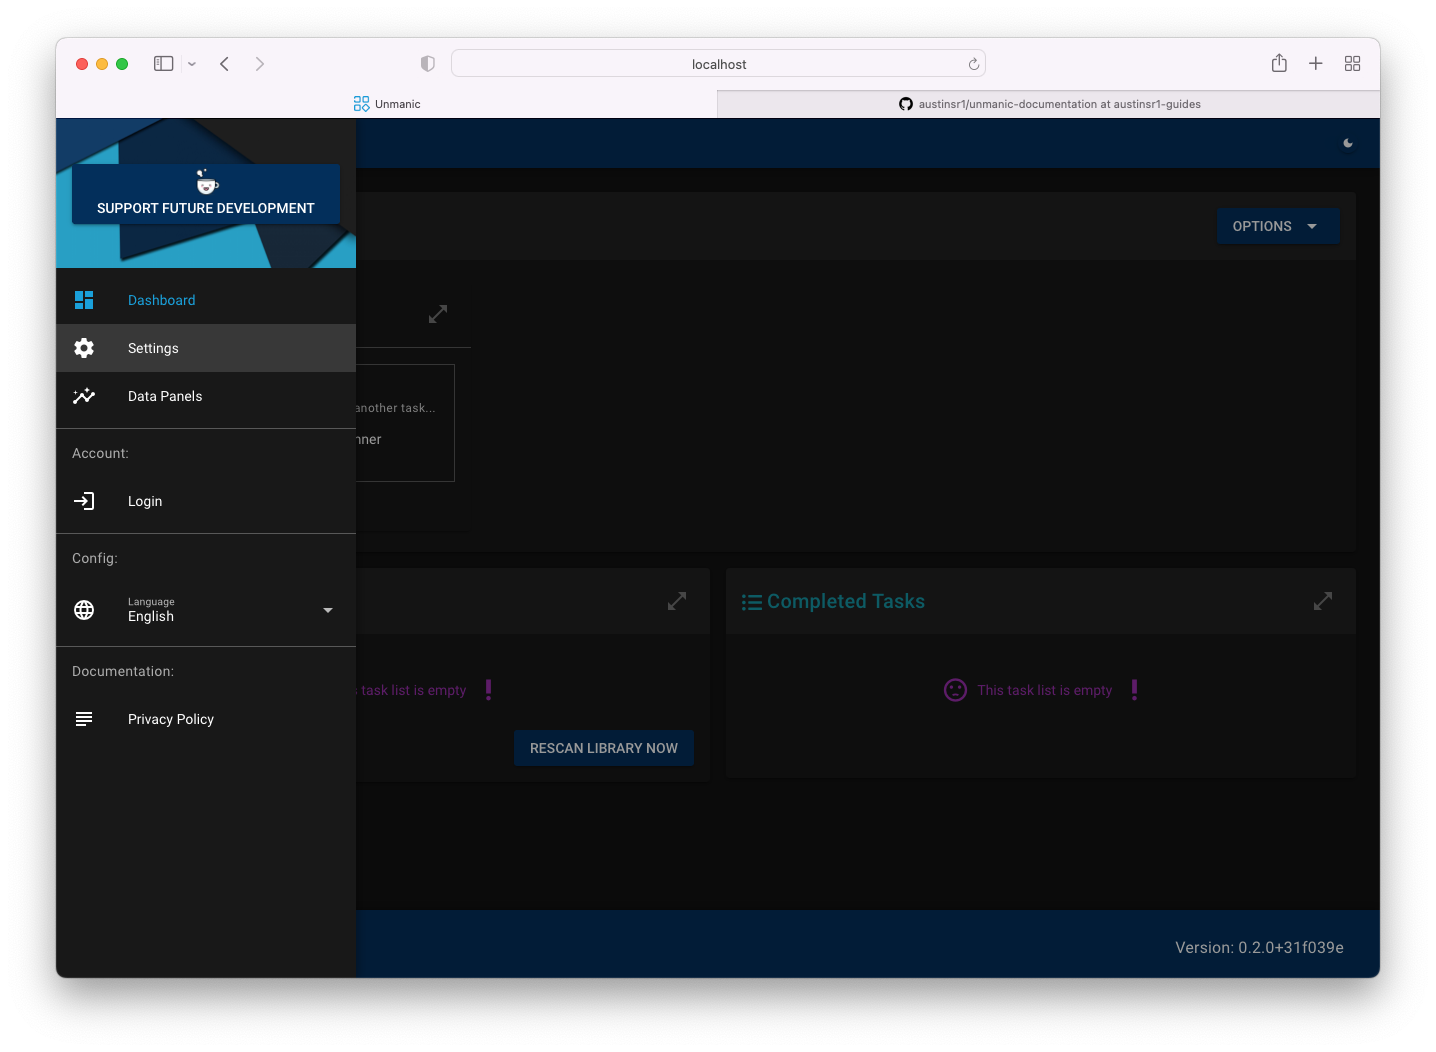
In the settings menu, you will see your default library. Click the 3 horizontal bars to the right of the library to open the configuration.
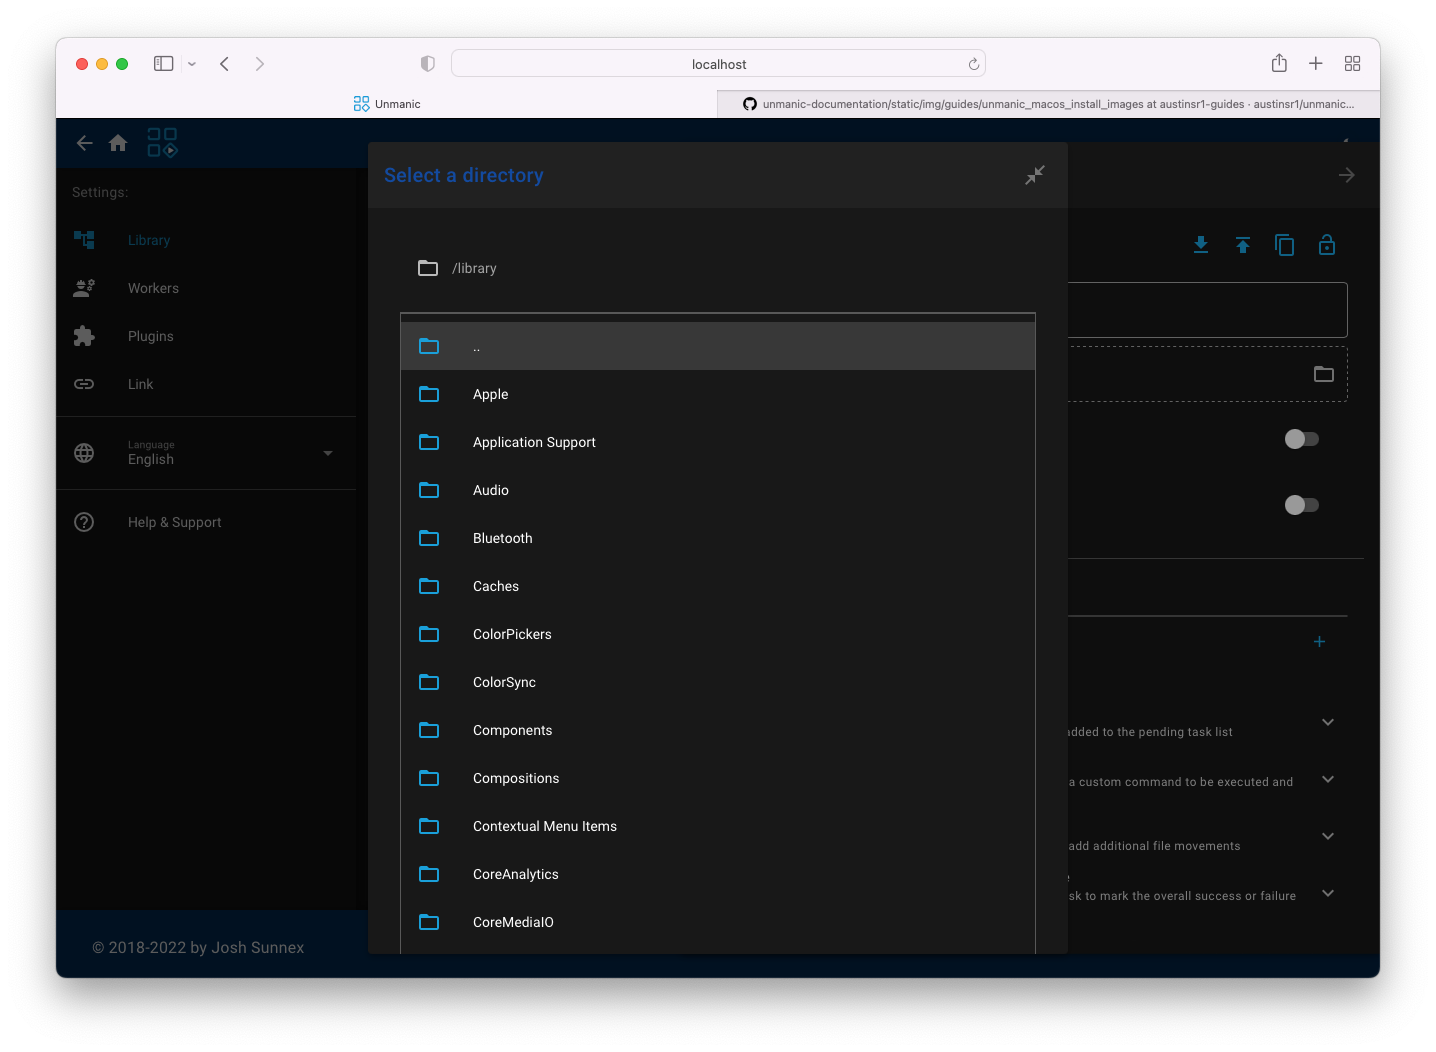
Next, click on the box that says Library Path.
By default, Unmanic looks for a library at /library, but that is in use already in macOS.
Click the .. at the top of the window to go up a level.
Navigate to the /Volumes directory and you should see the network drive that was mounted in the previous step.
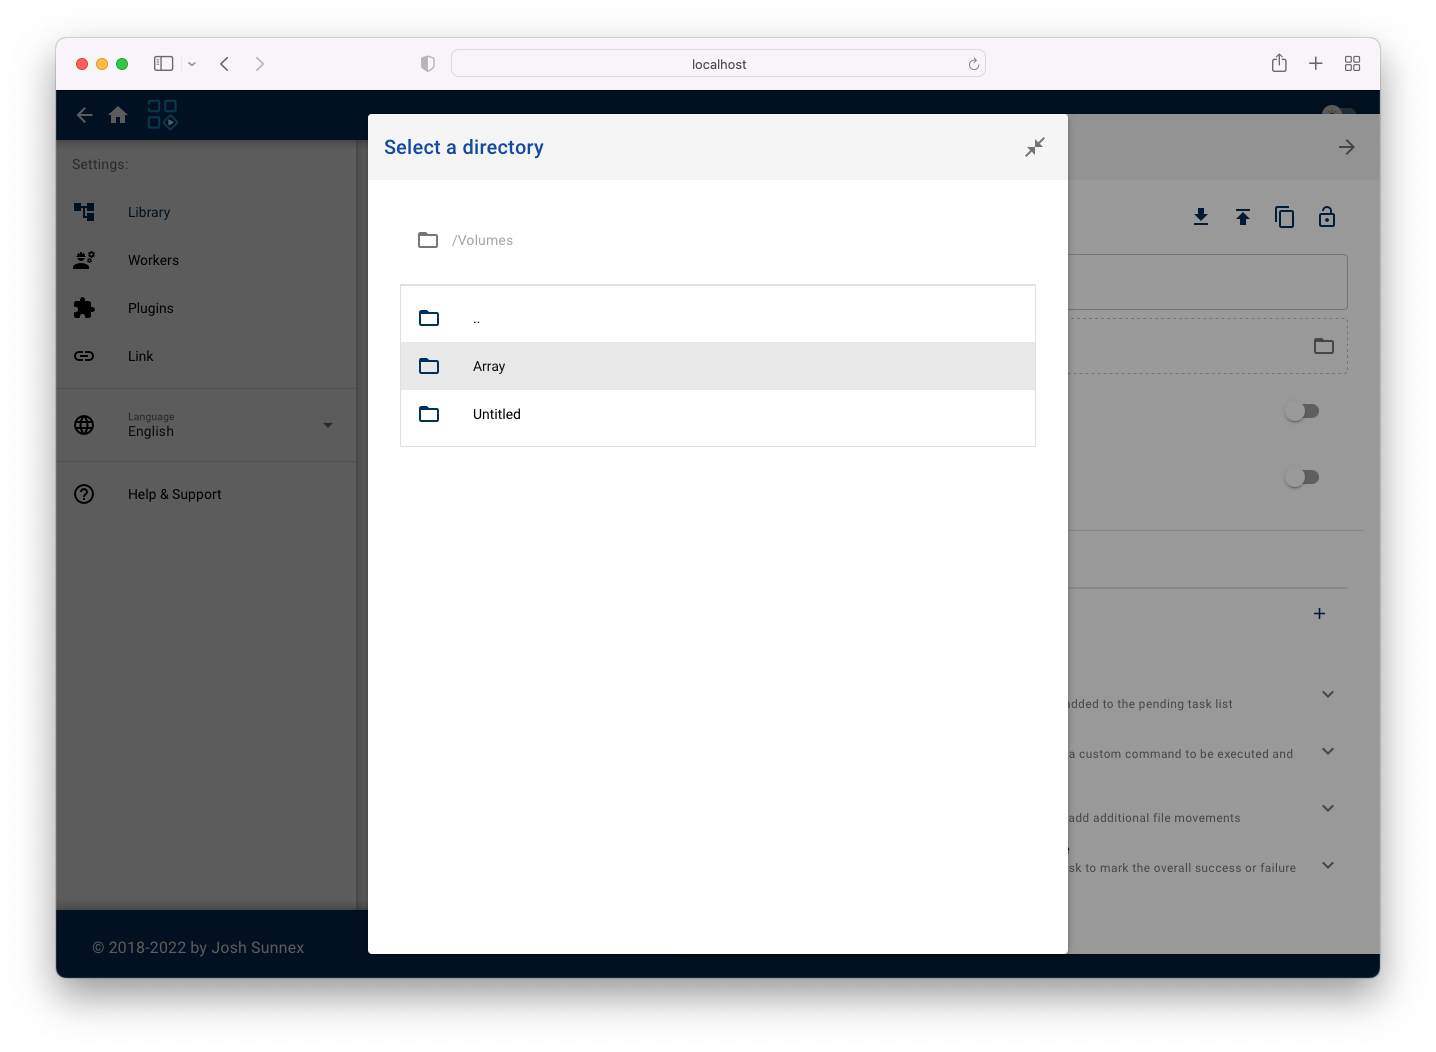
From there, navigate to your media.
9) Optional autostart
If you would like Unmanic to start automatically, you can compile an AppleScript applet to do this.
Open Applications -> Utilities -> Script Editor.
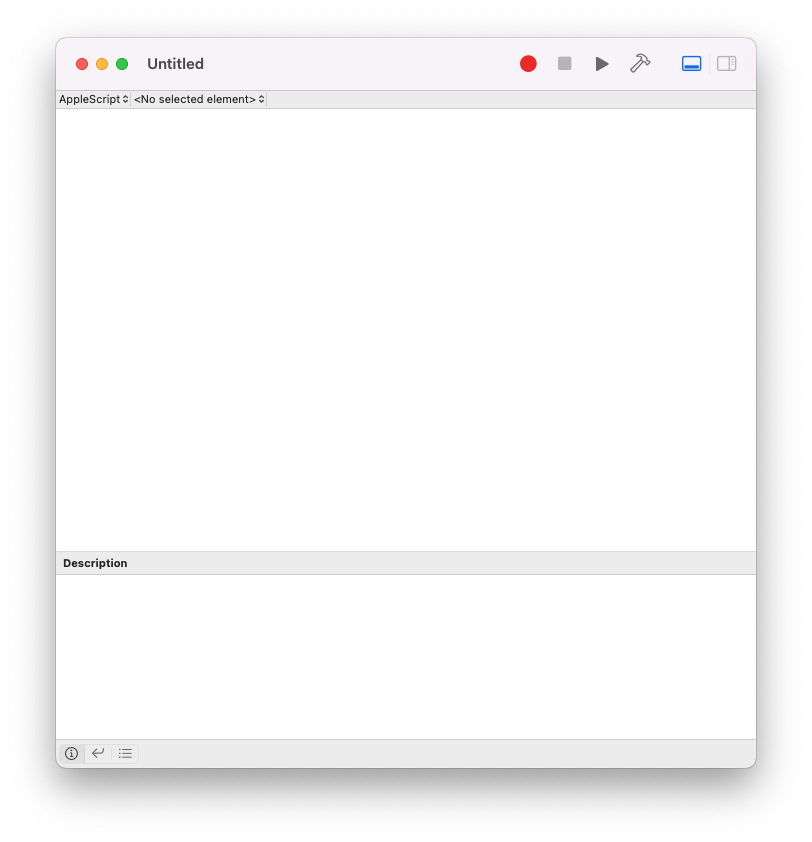
Paste the following into the Script Editor:
try
	do shell script "/usr/local/bin/start_unmanic.sh"
on error errMsg
	display dialog "ERROR: " & errMsg
end try
Next, go to File -> Export.
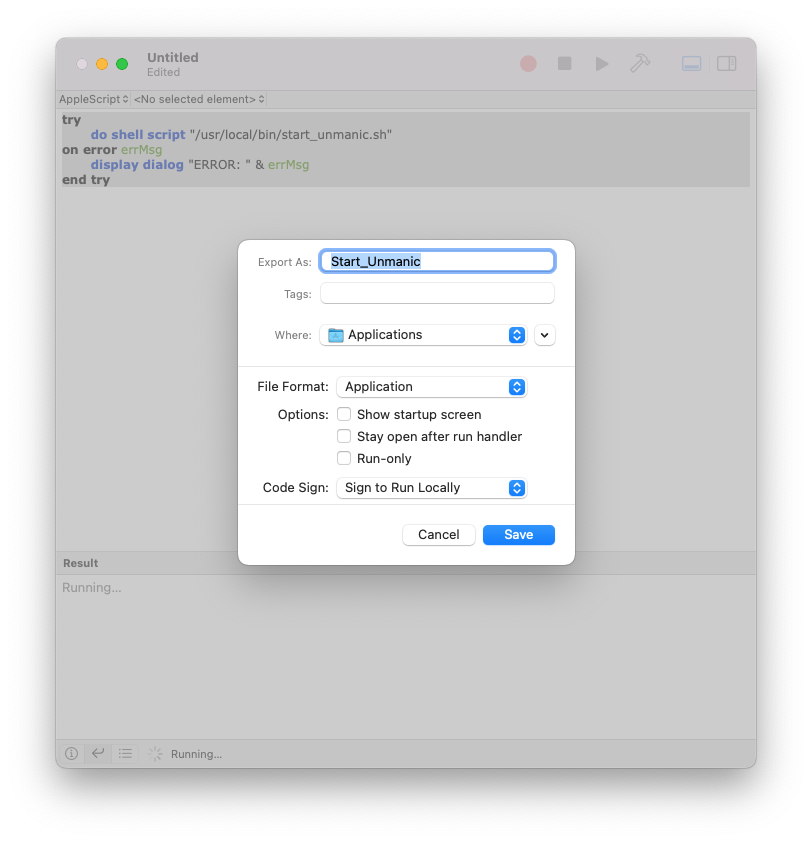
Export As: Start_Unmanic
Where: Applications
File Format: Application
Click the Save button.
Close Script Editor. Click the Apple Menu -> System Preferences, click Users & Groups, click your username on the left, and then click the Login Items tab.
Click the + and navigate to the Applications directory and click the Start_Unmanic application.