Installation on Synology
Instructions:
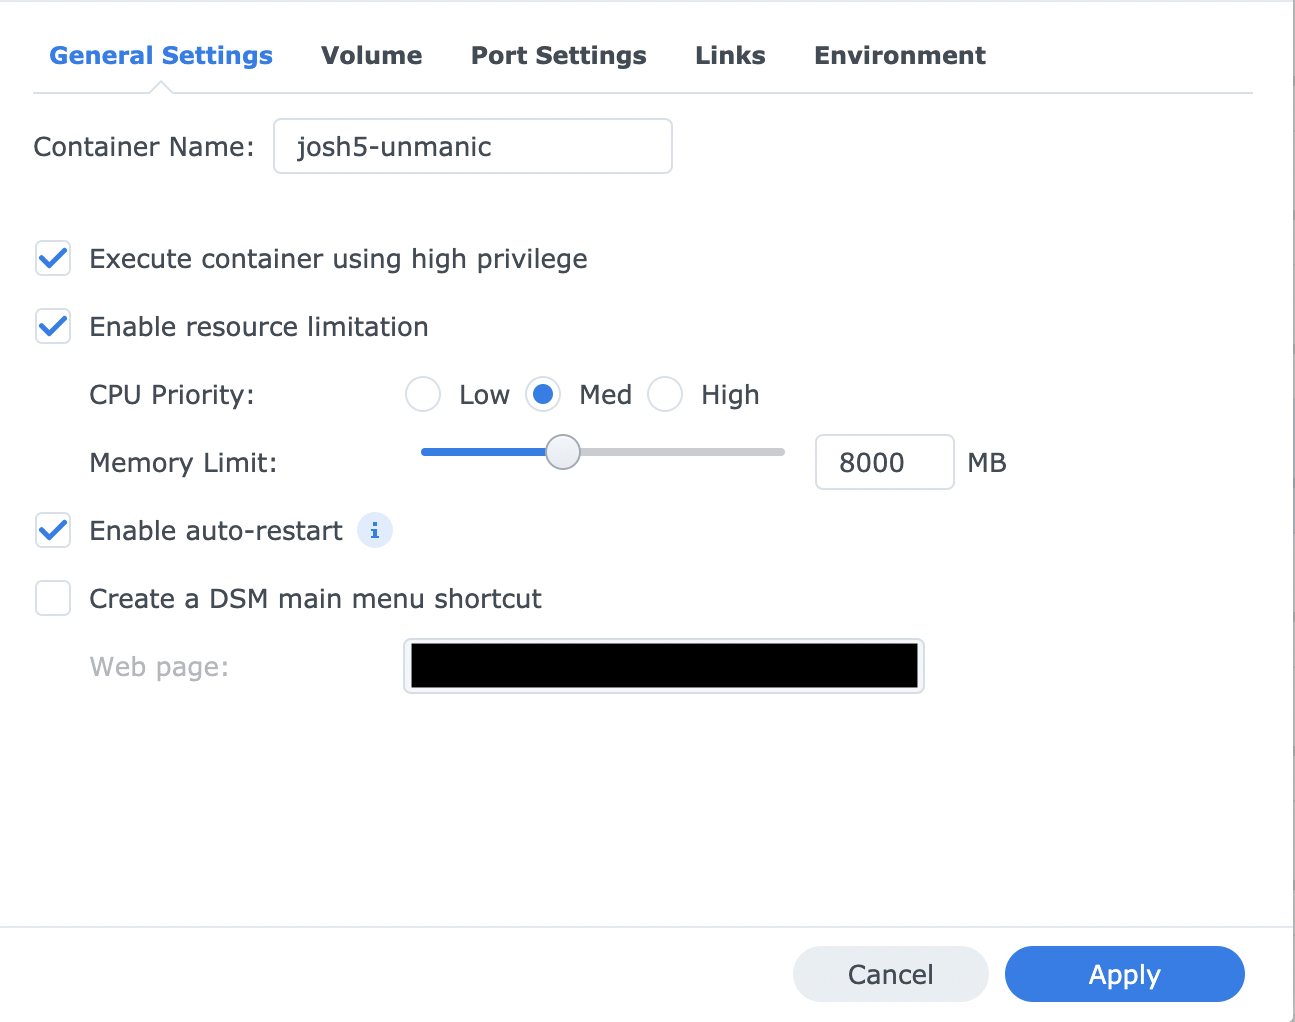
- Configure the container general settings as pictured:
- Enable high privilege
- Resource limitation is optional
- Auto-restart is optional
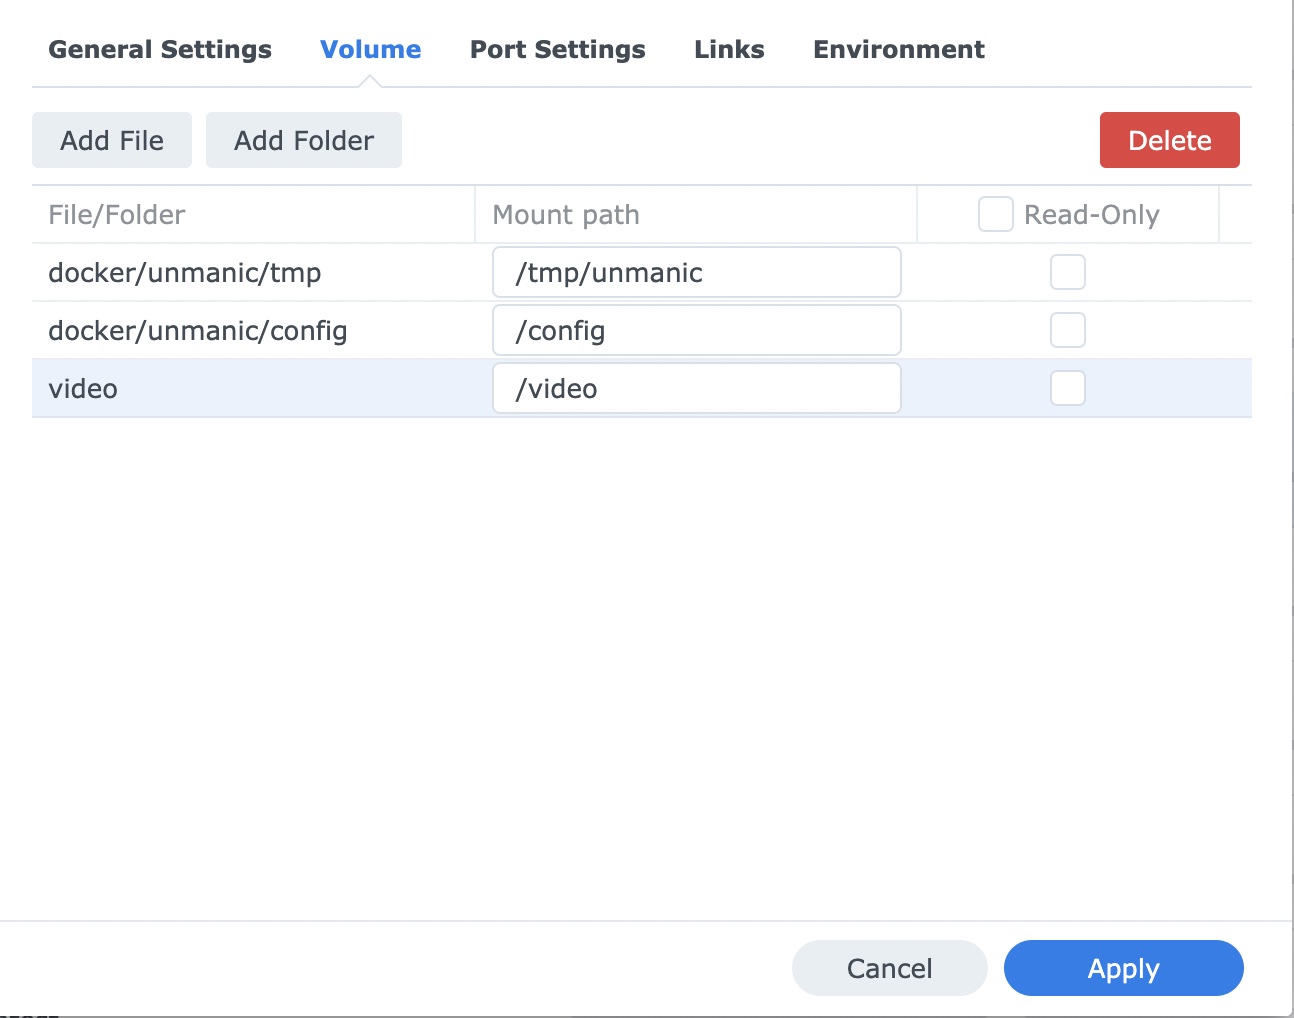
- Configure container volumes
- The /video mount points to your video library which you want to be able to access in Unmanic
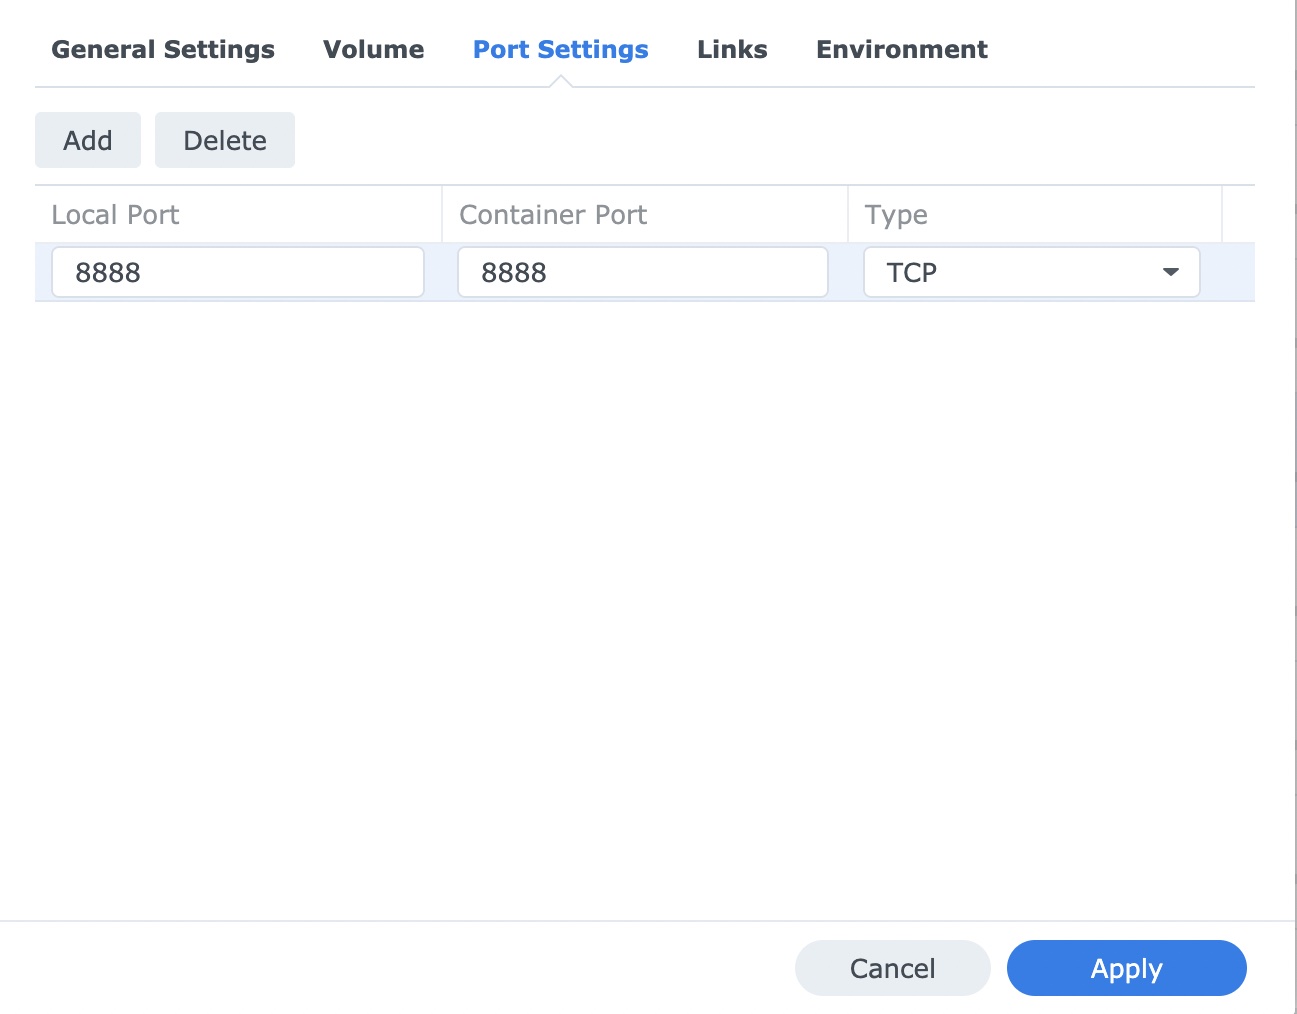
- Configure container ports
- Local Port 8888 can be changed to whatever you prefer. Example: If set to "38888" the Web-UI will be accessible on port 38888 (http://server_ip:38888).
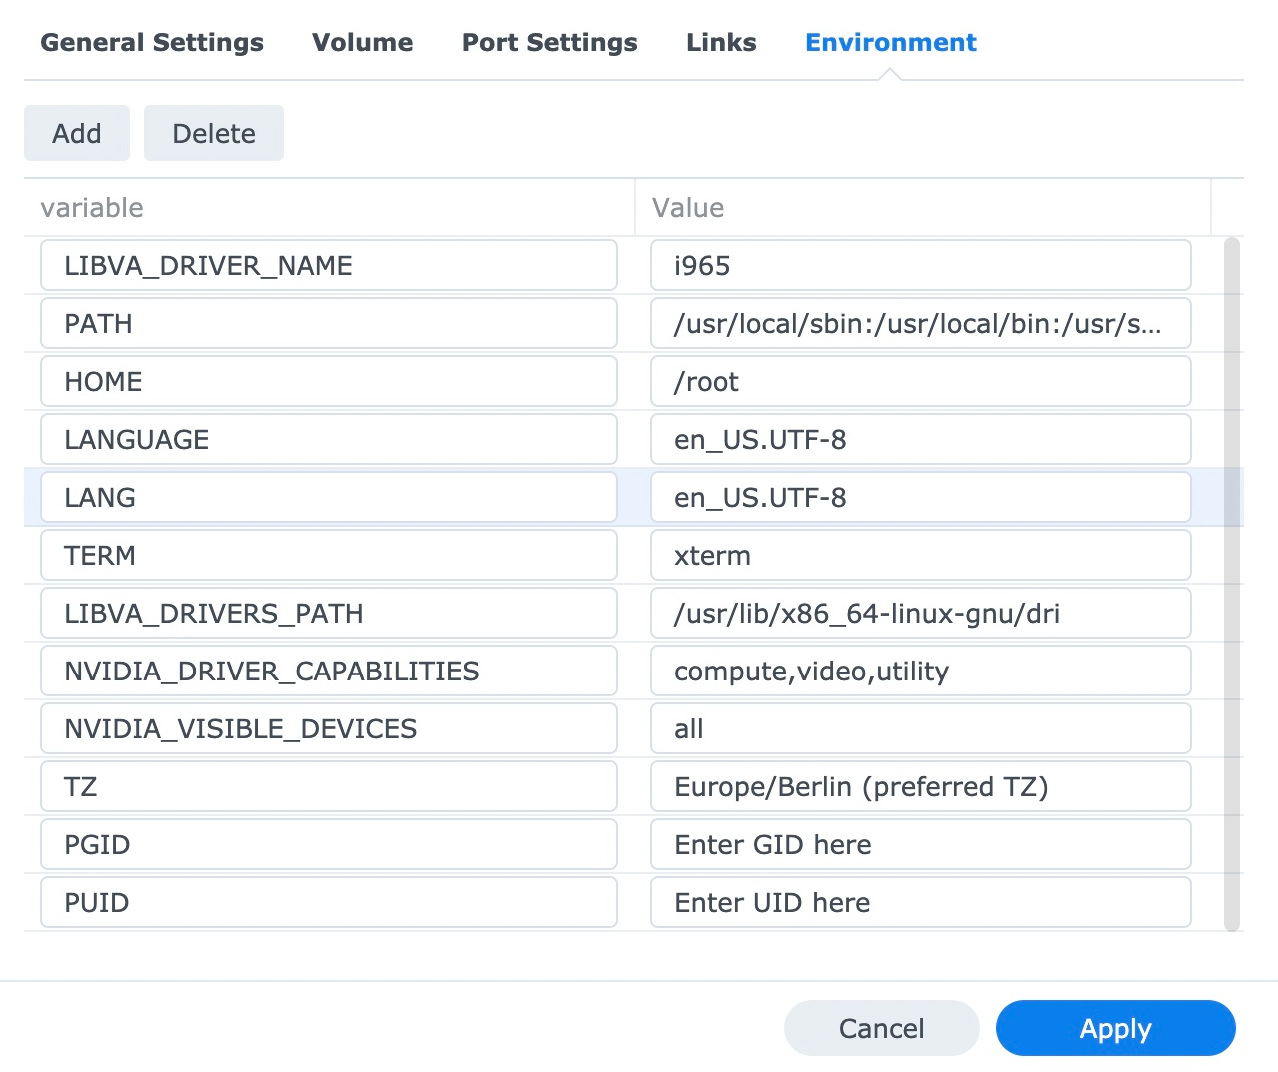
- Configure container environment
- Set your PID and GID
- Set your TZ
- Add the LIBVA_DRIVER_NAME variable. Set to i965.
Finish setting up the container and run for the first time. Check if everything's running properly.
How to Find UID and GID on Synology without using SSH
- Go to Control Panel -> Task Scheduler -> Create -> Triggered Task -> User-defined script
- In General type the name of the task "id" in Task: field
- Check out "Enabled" checkbox. This task will only run manually when needed.

- In Task Settings type "id" (make sure to use only lowercase)

- Click Ok button.
- Go to Control Panel -> Task Scheduler -> Settings.
- Check "Save output results" and select a foleder where to save results in "Save To" field and click "Ok" button.

- Run "id" task.

- Open File Station, navigate to folder selected to save results, there should be a folder (name of the folder will match the task name) with a output.log file containing both UID and GID.

Optional:
- Go to Control Panel -> Task Scheduler -> Settings.
- Check out "Save output results" unless you want to continue to save task results.
Some optional configuration steps:
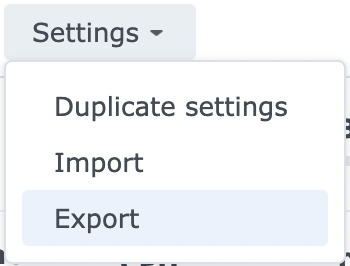
Adding HW-Acceleration capabilities:
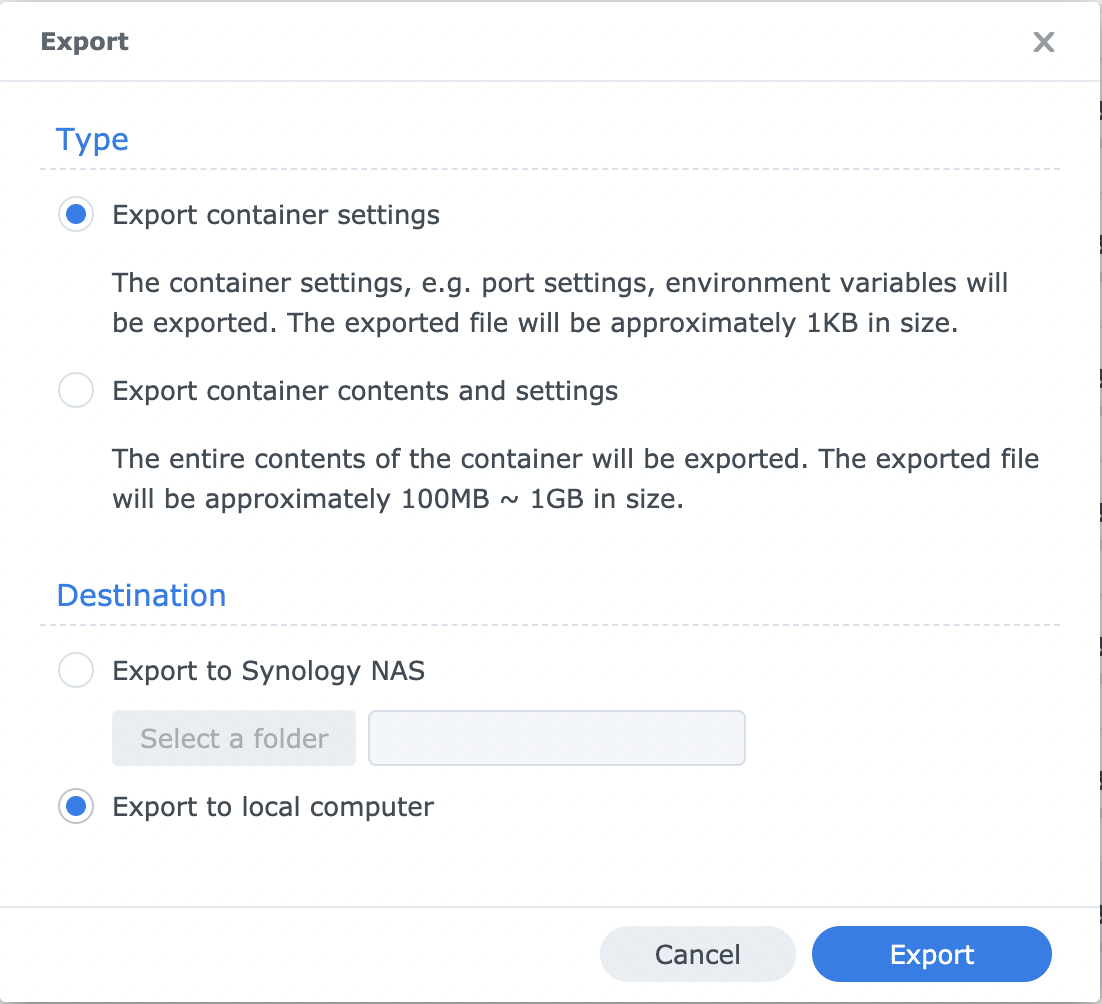
Stop the container and export the settings to your local computer. Delete the container afterwards.
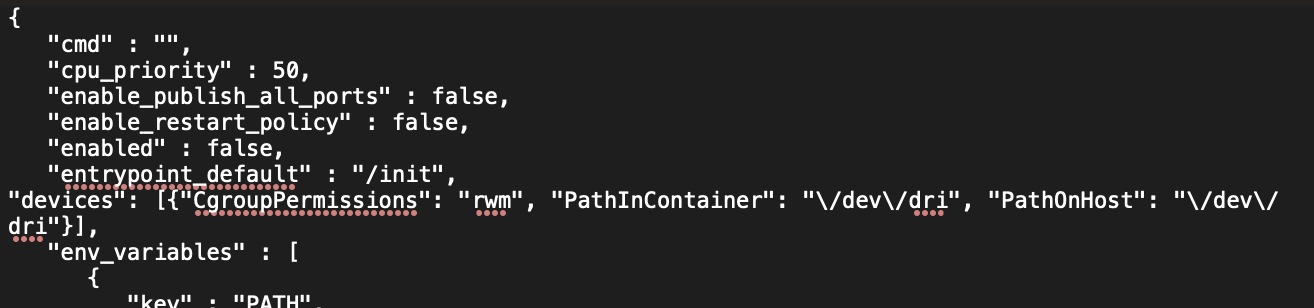
In the freshly downloaded .json file add the following text as shown in the picture below.
...

"devices": [{"CgroupPermissions": "rwm", "PathInContainer": "\/dev\/dri", "PathOnHost": "\/dev\/dri"}],

...
Import the modified .json file to your Synology NAS Docker Station and run the container.
Your Unmanic container should now be able to use HW-Acceleration with any supported Plugins.