Install Unmanic - Windows 10 (WSL + Docker)
Requirements
The process for setting this up on Windows11 should be similar.
This requires Windows 10, Version 1903, Build 18362 or higher.
1) Checking requirements
To check this, press windows key R.
In the run dialog, type:
winver

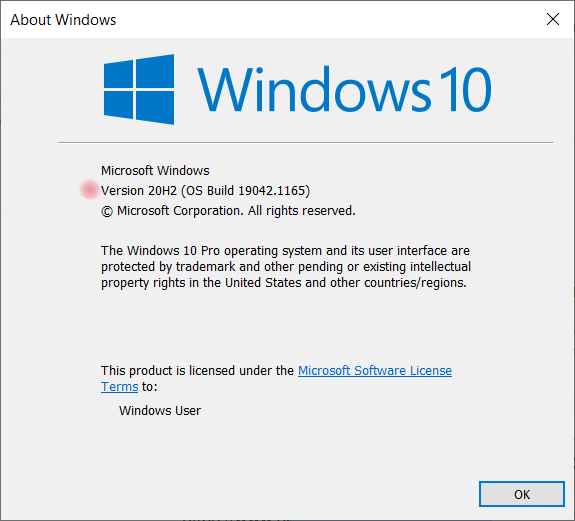
If you are not running Version 1903, Build 18362 or higher, you can download the Windows Update Assistant from Microsoft Microsoft. This will update your system to the newest Windows 10 version.
Instructions
1) Installing WSL 2(Windows subsystem for Linux 2)
As an administrator account, open a cmd window by pressing windows key R

In the run dialog, enter the command, cmd and click ok. Enter the following command in the cmd window:
wsl --install -d Ubuntu
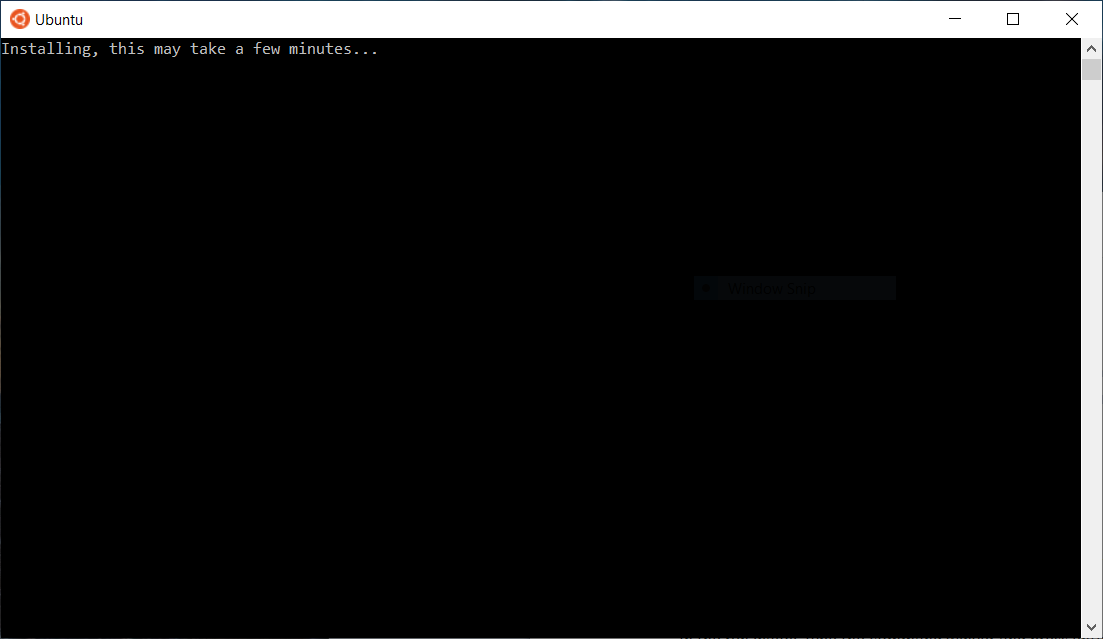
Once the command has finished, reboot your computer.
After rebooting, the Ubuntu install will continue. This will take a few minutes. Do not close the Ubuntu dialog box while it is installing.
You will eventually see a prompt to Enter new UNIX username: prompt.
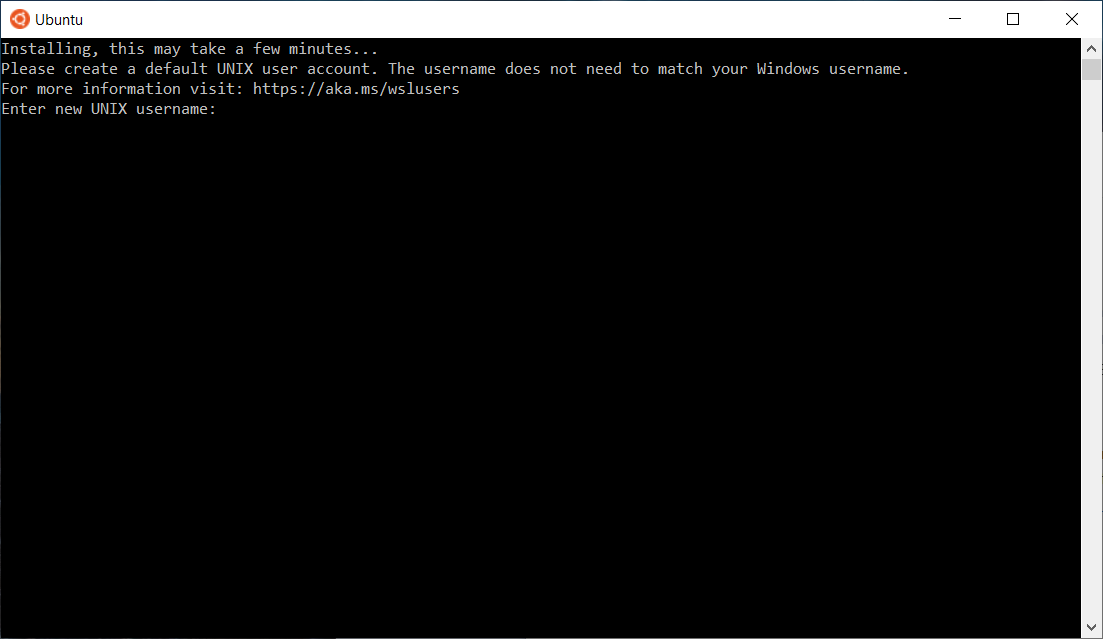
Select a username and press enter. It will now prompt for a "New password". Enter a password and press enter.
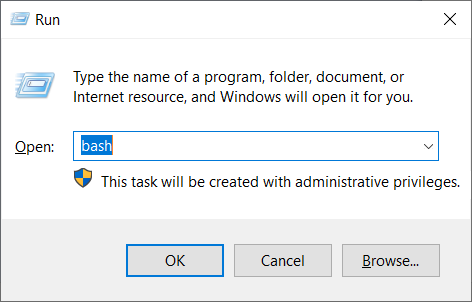
It will then ask you to "Retype new password". Verify your password and press enter. You will now be at a bash prompt. If at any point, you close the Ubuntu bash window, you can re-open it by pressing windows key R and typing: bash then press ok.
2) Mount your media library in WSL 2 Ubuntu
First, we will make a mount point for our library.
To make the changes we need to directories and files, we will use the sudo command. This will prompt for the password that you set earlier.
As an example, we will use the Windows drive letter Y for the location of our library.
In your Ubuntu bash window, type:
sudo mkdir /library
This will create a local mount point where Unmanic will be able to see your media.
Next, we will want to make sure this drive will be mounted after reboots. For this command, we will need to run as root.
From the Ubuntu bash window, type: sudo su - and press enter. Enter your
password when prompted.
Next, we will add the drive entry to the fstab file.
With the following command, we will want to leave the quotes in place. Replace Y with the drive letter of your mounted library.
From your Ubuntu bash window, type:
echo "Y: /library drvfs defaults 0 0" >> /etc/fstab
Next, we will need to mount the drive. From the Ubuntu bash window, type:
mount -a
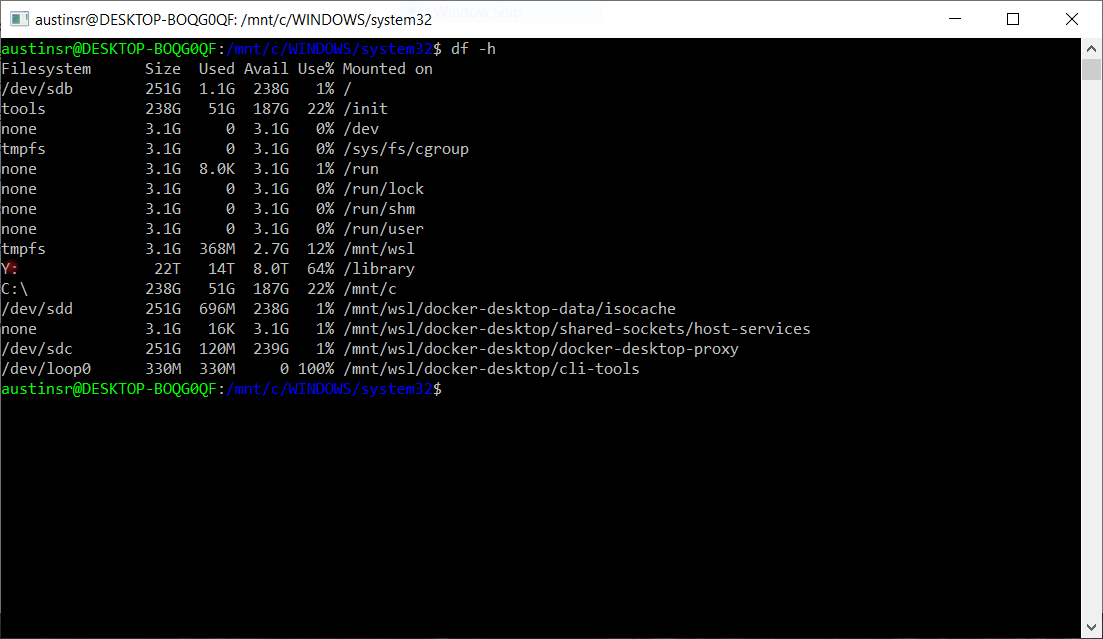
To verify the drive is now mounted, type:
df -h
The drive will be shown somewhere in the listed entries.
3) Docker for Windows
Next we will install Docker for Windows.
Docker for Windows can be found here.
Once the Docker Desktop Installer has been downloaded, run the installer.
When the installer opens, make sure the "Install required Windows components for WSL 2" is checked. Click Ok to start the installation.
When the installation is complete, it will prompt you to log out of windows. Press the Close and log out button in the Docker installer.
After logging back in, Docker will have you accept its terms of use. Click the I accept the terms box and hit Accept.
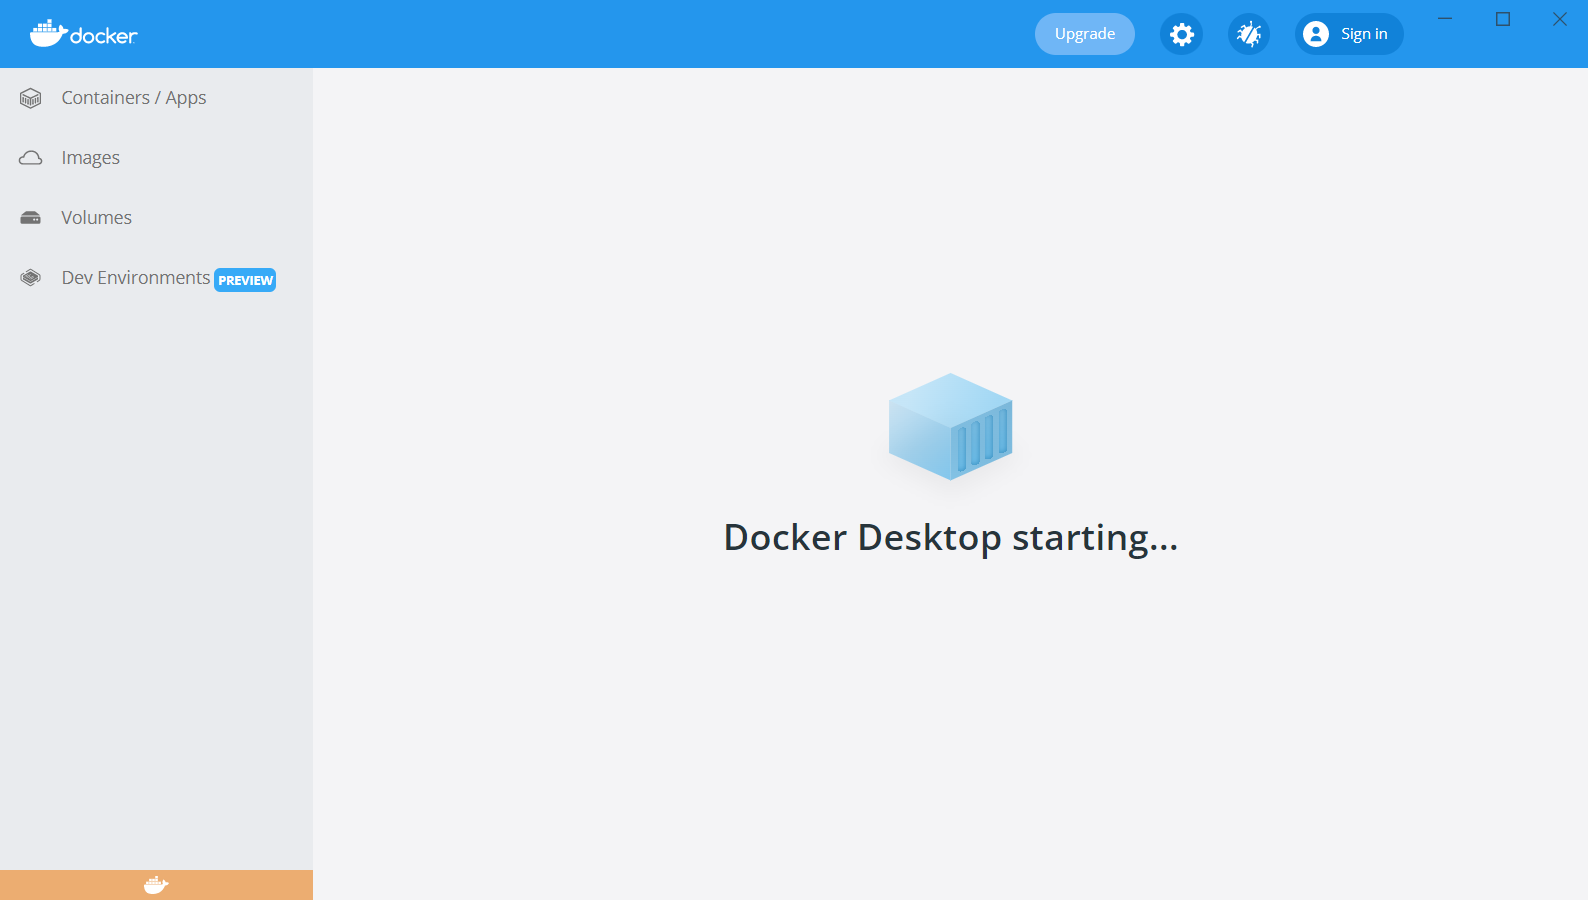
Once the Docker starting message closes, click the Skip tutorial link.
Next we will enable WSL2 support in docker. Click the gear icon on the top right of the Docker window to bring up settings.
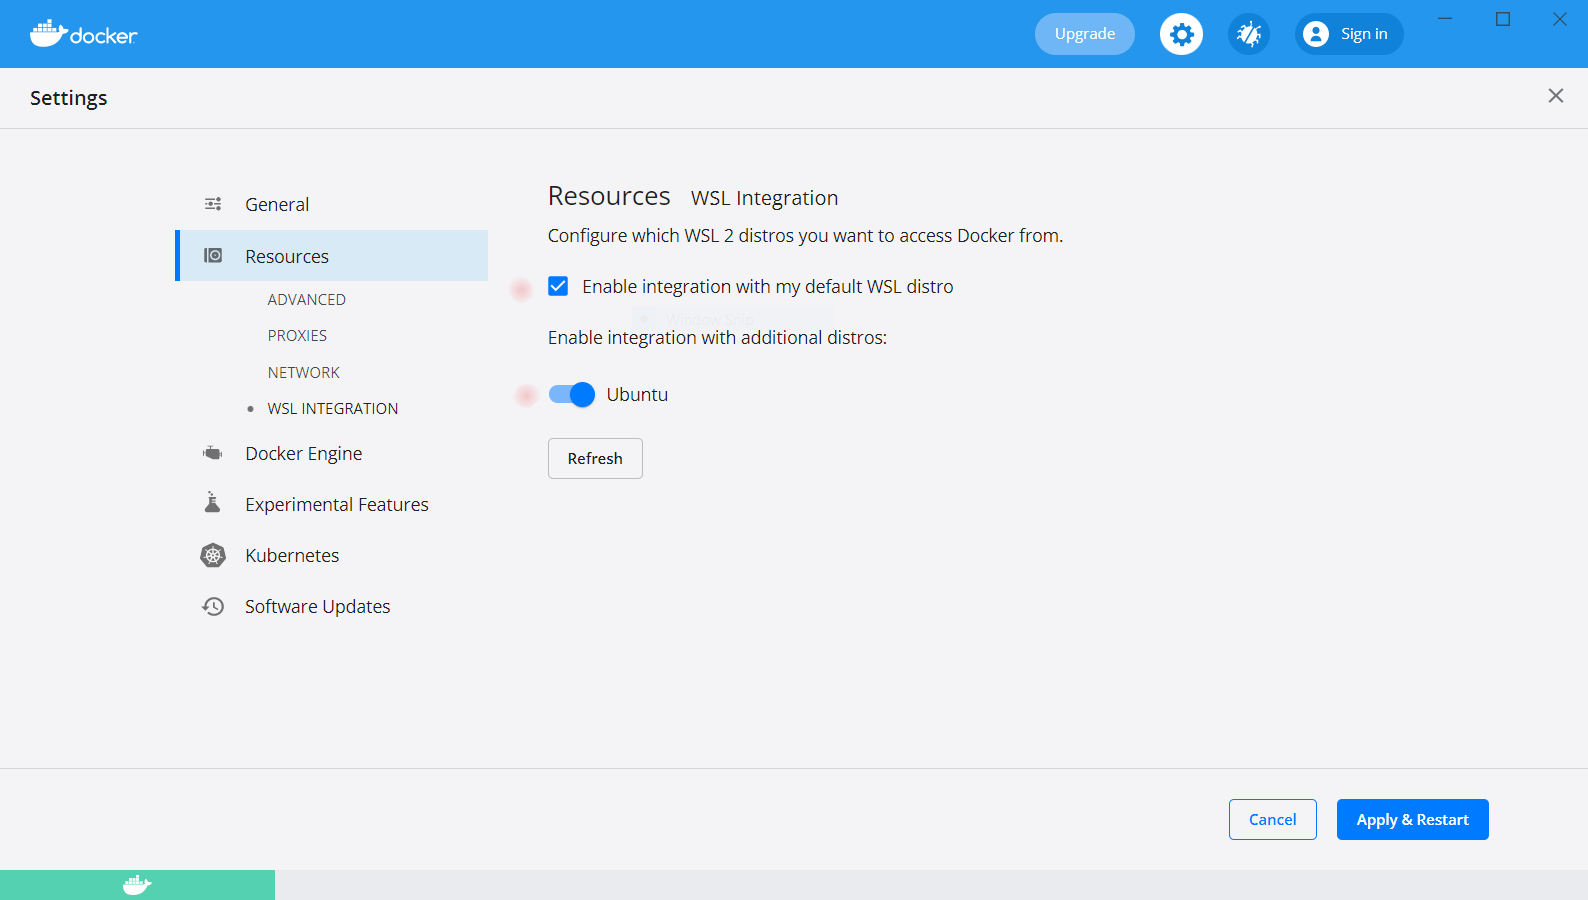
Click Resources from the left menu and then WSL INTEGRATION
Click the Enable integration with my default WSL distro.
Under the Enable integration with additional distros: , enable Ubuntu.
Click Apply & Restart.
Next we will install the Unmanic docker container.
Open the Ubuntu bash window and type:
sudo docker pull josh5/unmanic
Finally, we will go to the Unmanic documentation page to get the shell script that will pass all the required flags to Unmanic.
In the Ubuntu bash window, type:
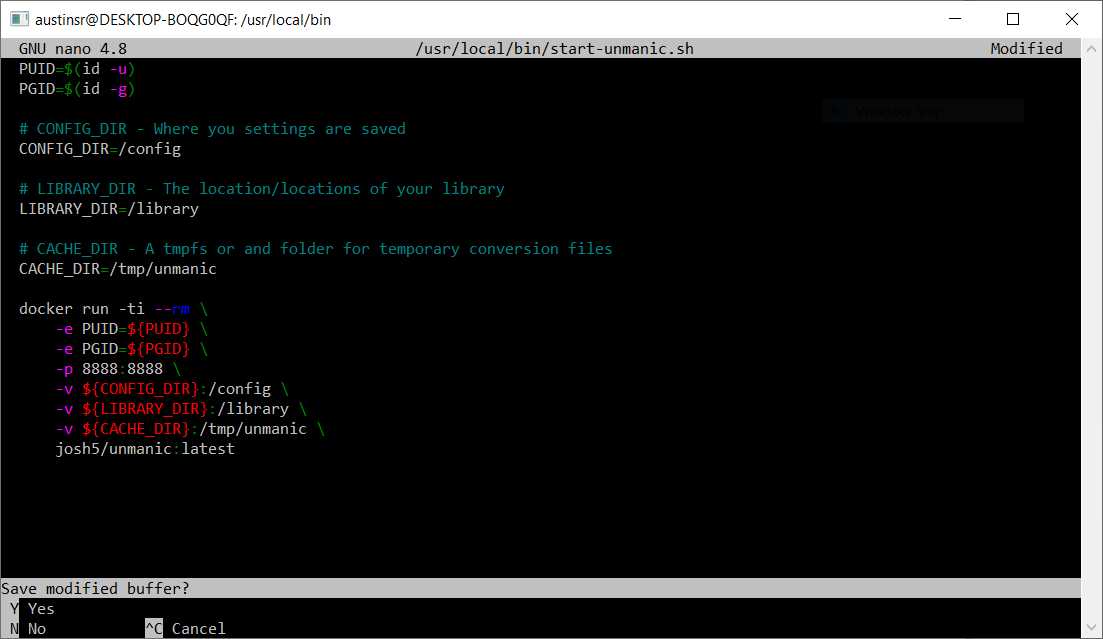
sudo nano -w /usr/local/bin/start-unmanic.sh
This will open the text editor nano.
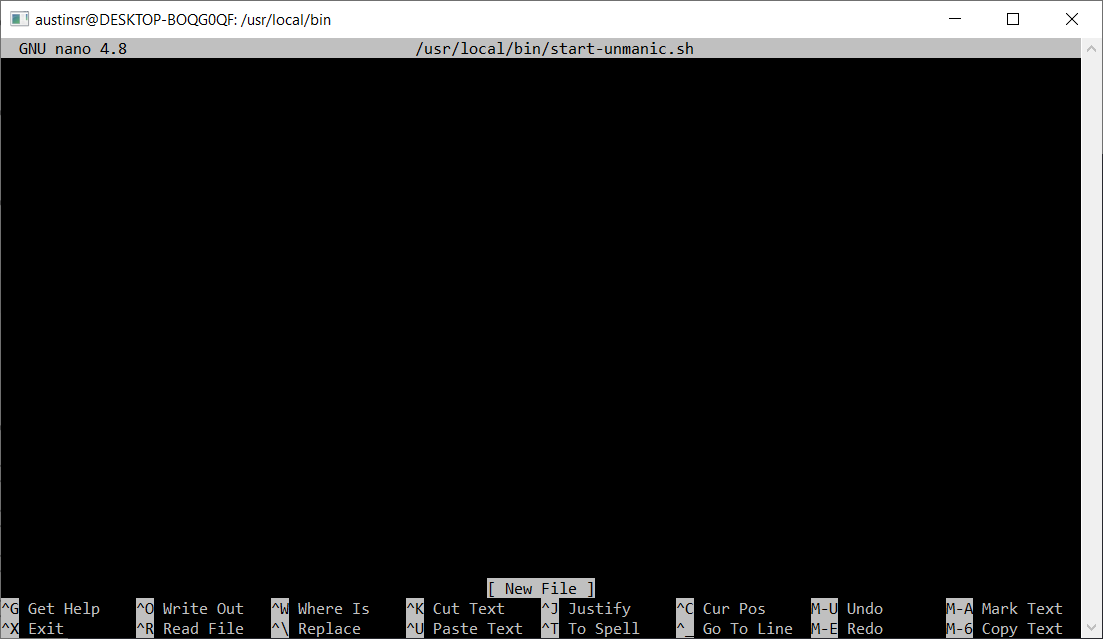
Once the nano window is open, copy the block of shellscript from the unmanic documentation link above. Switch back to your Ubuntu bash window with nano open and right click anywhere on the screen. This will paste in the shellscript copied from the documentation.
Next, we will save and exit from nano. Press Ctrl x . You will see a message "Save modified buffer?" at the bottom left of the window. Type Y and press enter to save and exit.
Next, we will set the shell script to be executable. In the Ubuntu bash window, type:
sudo chmod 755 /usr/local/bin/start-unmanic.sh
Finally, in the Ubuntu bash window, type:
sudo start-unmanic.sh
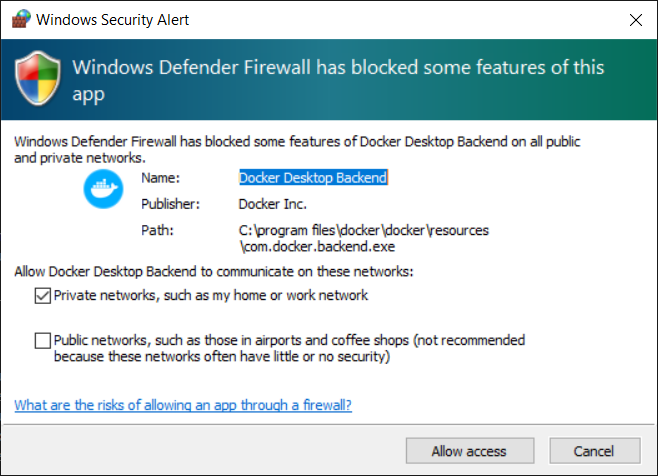
If you are running the Windows firewall, you may see a security dialog. Click the Allow access button.
Unmanic is now running in Docker. To access Unmanic, open a web browser
window to http://localhost:8888
4) Troubleshooting common issues
Problems can arise if the network connection to the computer is interrupted. If Unmanic can no longer see your library, first check that the network drive is still connected to the file server.
If the network drive is connected, and Unmanic still cannot see the library, quit Docker by right clicking the Docker icon in the system tray and click Quit Docker Desktop. Docker must be quit completely, the Restart option will not resolve the issue.

Restart Docker Desktop and restart Unmanic from the Ubuntu bash window.
5) NVIDIA hardware acceleration for Unmanic on Windows
With WSL2, and a recent NVIDIA GPU and driver you can access hardware acceleration on Windows. Pascal and later GPUs are supported with a minimum driver or R495.
Install NVIDIA GeForce Game Ready or NVIDIA RTX Quadro Windows display driver on your system with a compatible GeForce or NVIDIA RTX/Quadro card from https://www.nvidia.com/Download/index.aspx. This is the only driver you need to install. Do not install any Linux display driver in WSL.
Confirm that your NVIDIA GPU is accessible in WSL by running:
docker run --rm --gpus all --entrypoint="" josh5/unmanic nvidia-smi
Update the Docker Engine settings to enable the NVIDIA container runtime:
{
  "builder": {
    "gc": {
      "defaultKeepStorage": "20GB",
      "enabled": true
    }
  },
  "experimental": false,
  "runtimes": {
    "nvidia": {
      "path": "/usr/bin/nvidia-container-runtime",
      "runtimeArgs": []
    }
  }
}
Update your start-unmanic.sh script to add the NVIDIA runtime and GPUs
# NVIDIA_VISIBLE_DEVICES - The GPUs that will be accessible to the container
NVIDIA_VISIBLE_DEVICES=all

docker run -ti --rm \
    -e PUID=${PUID} \
    -e PGID=${PGID} \
    -e NVIDIA_VISIBLE_DEVICES=${NVIDIA_VISIBLE_DEVICES} \
    --runtime=nvidia \
    -p 8888:8888 \
    -v ${CONFIG_DIR}:/config \
    -v ${LIBRARY_DIR}:/library \
    -v ${CACHE_DIR}:/tmp/unmanic \
    josh5/unmanic:latest